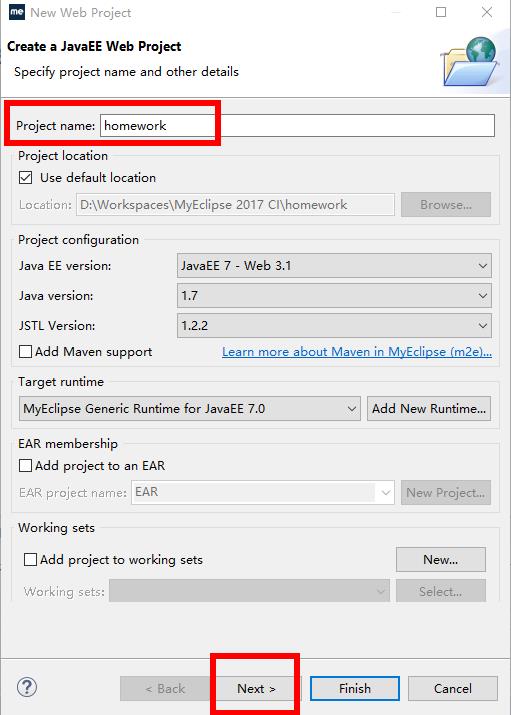
新建JSP Web项目
依次操作:File -> New -> Web Projects
20190225A
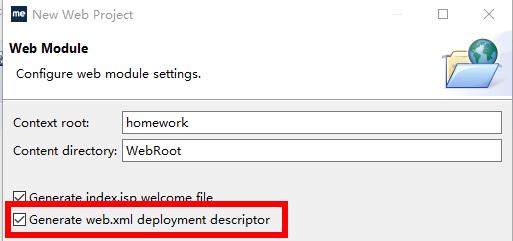
依次操作:Next -> Next
20190225B
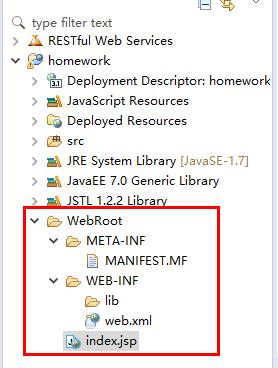
点击finish完成项目的创建
项目结构图如下
20190225C
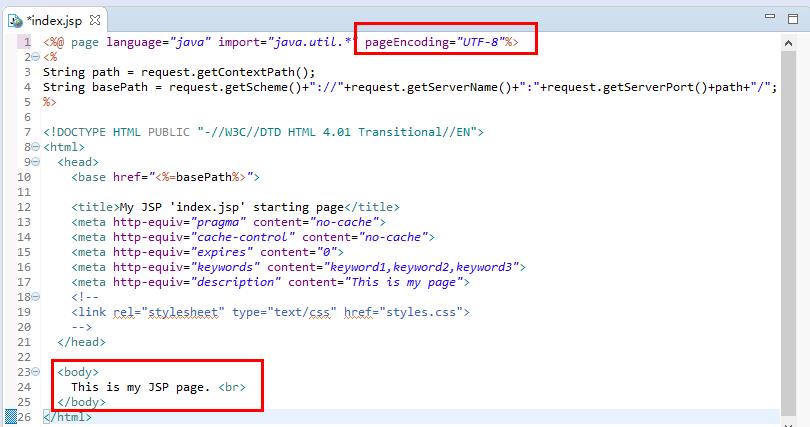
修改index.jsp文件的代码,第一行修改为pageEncoding=”UTF-8”
20190225D
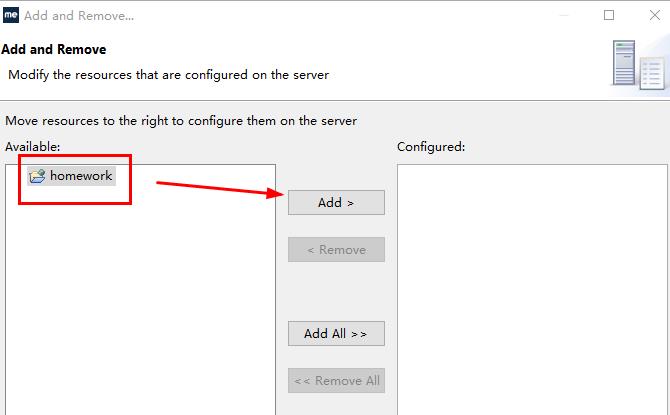
在下方的Servers选项卡中,点击右边图标,将需要部署的项目进行部署(add and remove)
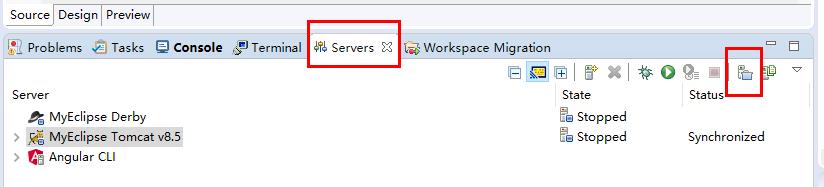
20190225E
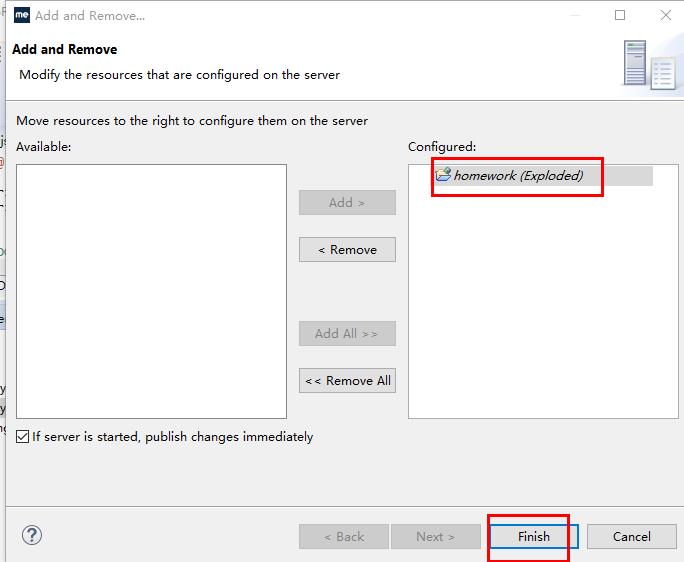
将项目homework添加到服务器完成部署
20190225F
20190225G
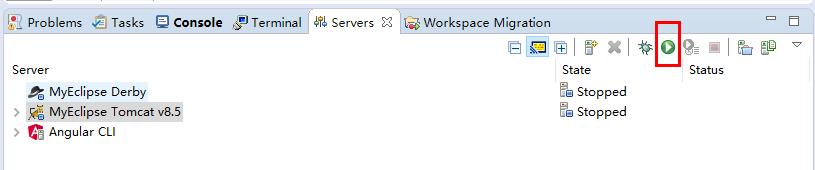
点击启动Tomcat服务器
20190225H
Console选项卡显示启动服务器的结果,http-8080表示服务器端口
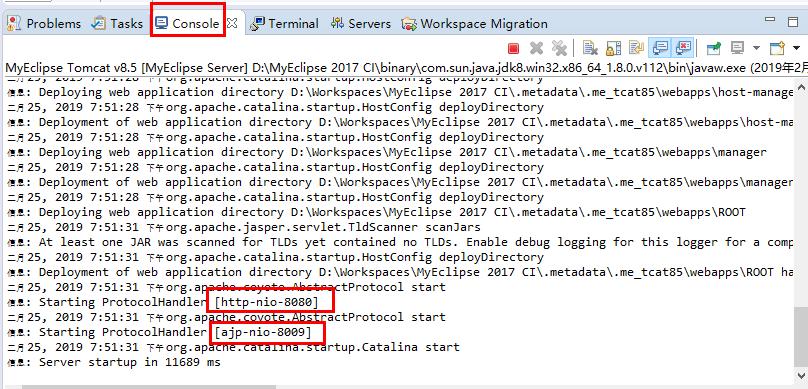
20190225I
在浏览器中输入正确的端口号和路径浏览jsp网页
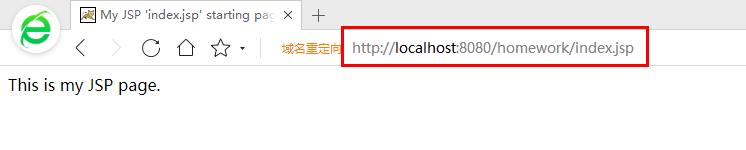
20190225J
在serverxml文件中可以修改项目的端口号
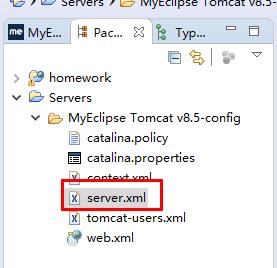
20190225K